As a designer, the Slice tool in Figma can be your best friend when it comes to creating intricate designs. Whether you’re looking to simplify your workflow or just starting with Figma, understanding the ins and outs of slicing can bring your design skills to the next level. Let’s cover everything you need to know about the Slice tool in Figma, from basic usage to advanced techniques and best practices. Let’s get started!
Getting started with the Slice tool in Figma
If you’re new to Figma, the Slice tool may seem intimidating at first. But fear not: with a few simple steps, you can be on your way to mastering this powerful feature. I’ll walk you through a basic Figma slice tool tutorial to get you up and running. Let’s dive in!
Slicing vs. exporting: What’s the difference?
Before we plunge into the world of slicing, let’s clarify a common misconception: slicing is not the same as exporting. Exporting involves saving an element or group of elements as image files or code, while slicing is the process of defining areas within your design that you want to export. To put it simply, think of your design as a whole pizza, and slicing is like using a pizza cutter to decide how big a slice you want. Exporting, on the other hand, is choosing to take that slice home or share it with others. Let’s focus on the slicing part now!
Creating slices in Figma
The first step to using the Slice tool in Figma is creating slices. Slices are areas of your design that you want to export or save as a separate file:
To create a slice, select the layer or group you want to slice and click the Slice button in the toolbar. You can also use the keyboard shortcut S to activate the slice tool. Once you’ve created a slice, you can adjust its size and position. Click and drag the handles surrounding the slice to resize it, or use the arrow keys to move it around. You can also use the Align and Distribute options in the toolbar to precisely position your slices.
Why the Slice tool is useful
- Precision: the Slice tool allows you to precisely define the area you want to export, ensuring that you get the exact portion of your design without any unwanted elements
- Flexibility: you can create multiple slices within a single frame or across multiple frames, allowing you to export different sections of your design
- Export options: with the Slice tool, you can export your design in various formats such as PNG, JPG, SVG, and PDF. Additionally, you can choose the resolution of the exported image
Now that you know how to create and adjust slices, let’s explore some different slicing techniques. Figma offers three types of slices: Slice, Export, and Background:
The Slice type is the default and is used for most slicing scenarios. The Export type is used for elements that need to be exported as assets, such as icons or logos. The Background type is used for slices that have a fill color or gradient and don’t need to be exported as separate assets.
Figma Slice tool tips
Now that you have a basic understanding of the Figma slice tool, let’s dive into some tips to help you use it more effectively. Here are a few Slice tool tips to get you started:
- Use the Alt key to duplicate slices quickly. Simply click and drag a slice while holding down the Alt key, and a duplicate slice will be created
- Use the Shift key while resizing a slice to maintain its aspect ratio. This is especially helpful when resizing logos or icons
- Use the Export Settings panel to export your slices quickly and easily. Simply select the slices you want to export and adjust the export settings in the panel
| Shortcut | Description |
| Alt+D | Duplicates the selected slice |
| Shift | Constrains the proportions of your slice |
| Ctrl+Shift+K | Exports all slices in your design |
How to use Figma Slice
The Slice tool in Figma is used to define specific areas of your design that you want to export or save as separate image files. This is particularly useful when you want to export individual elements of your design for web or app development.
Here’s how you can use the Slice tool in Figma:
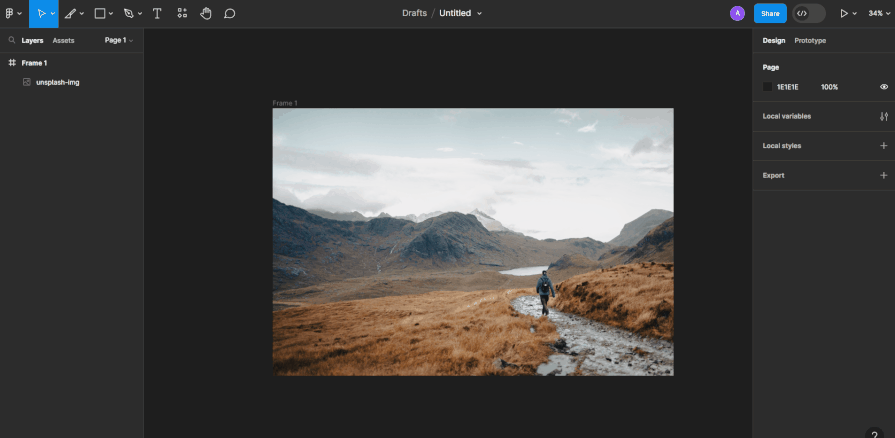
1. Open your Figma file
Start by opening your Figma file or creating a new one:
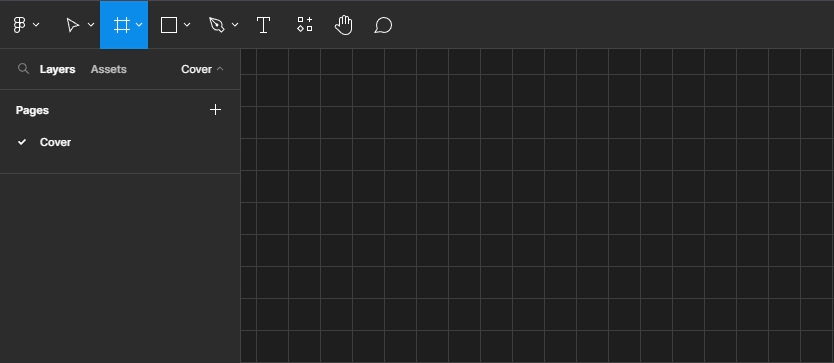
2. Select the Slice tool
The Slice tool is located on the left-hand side of the toolbar. It looks like a small knife icon. Click on this tool to activate it:
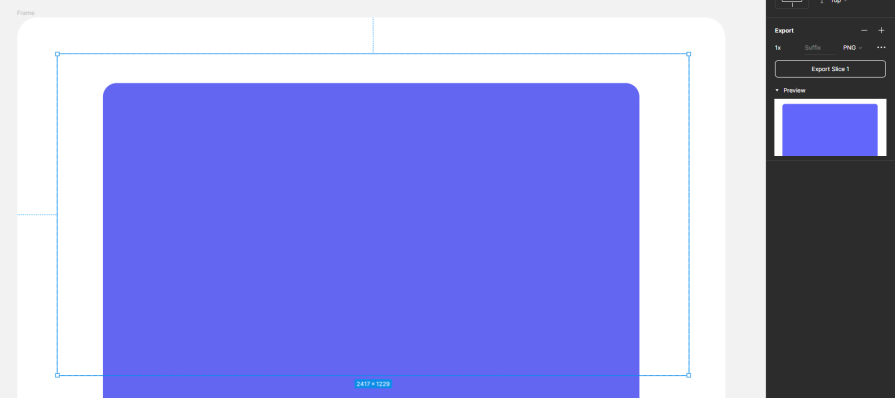
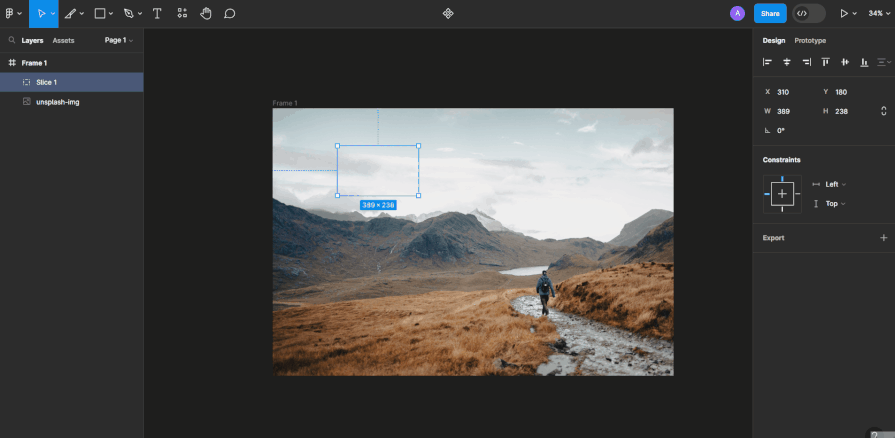
3. Create a slice
With the Slice tool selected, click and drag your mouse over the area of your design that you want to create a slice for. This will create a rectangular or square slice around the selected area. You can adjust the size and position of the slice as needed:
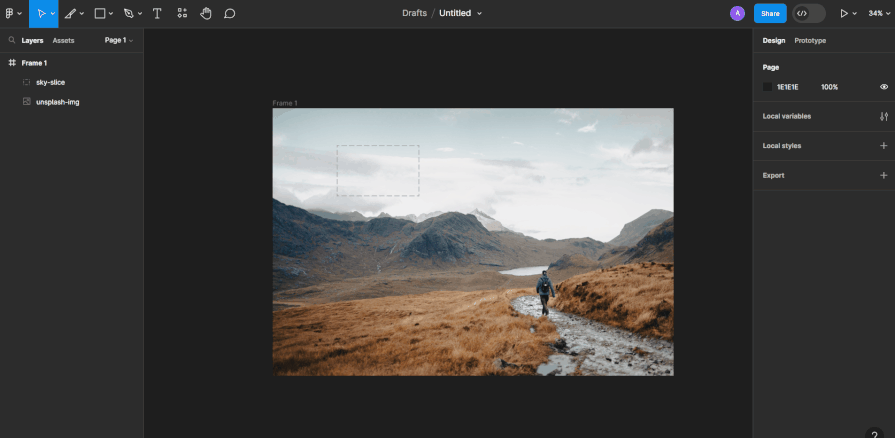
4. Name the slice (optional)
You can give your slice a name by double-clicking on it and entering a custom name in the Name field in the left-hand panel. This can be helpful for organization, especially if you have multiple slices:
5. Customize slice settings (optional)
In the right-hand panel under export, you can further customize the properties of your slice. Here are some of the settings you can adjust:
- File format: you can choose the file format for the exported slice, such as PNG, JPEG, or SVG
- Quality: adjust the quality for raster formats (e.g., JPEG)
- Resolution: set the resolution for your slice
6. Export your slices
Once you’ve defined all the slices you need, you can export them by selecting the slices you want to export and clicking the Export button in the right-hand panel.
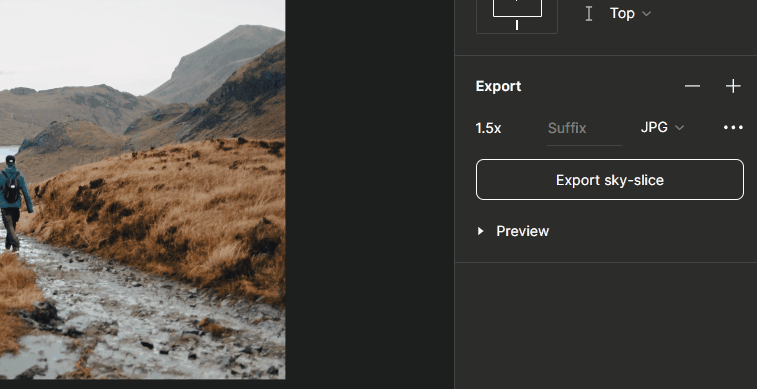
This will prompt you to choose an export location on your computer and specify the format and options for each slice: By following these steps, you can effectively use the Slice tool in Figma to create and export specific areas of your design as separate image files. This is useful for web and app developers who need assets from your design to build the final product.
Plugins to make slicing easier

Want a plugin to make slicing quicker? One such plugin is Slicer 2. This Figma plugin makes it easier to slice multiple objects. It’s pretty straightforward:
- Run Slicer
- Select one or more layers you want to Slice
- Choose to set the slice size with padding or total size
- Click Slice, and the layers will be sliced and grouped
Best practices for Slicing in Figma
Now that you’re familiar with the basics of slicing in Figma, let’s delve into some tips and best practices to enhance your slicing skills:
Organize your slices
Proper organization is key. Give your slices meaningful names that reflect their content, making it easy to identify them later. For example, if you have multiple button variations, name them “Primary Button,” “Secondary Button,” and so on.
Group related slices
If your design has multiple components that work together, consider grouping related slices. This ensures that when you export them, they stay together, making it easier for developers to work with.
Use consistent export settings
Maintain consistency in your export settings, especially for similar types of assets. This reduces the chance of errors and streamlines your workflow.
Test different formats
Experiment with different file formats to find the best balance between image quality and file size. PNG is great for transparency, while JPEG works well for photographs.
Keep an eye on resolution
Match the resolution of your slices to the intended use. For web design, 72 DPI is standard, but if you’re designing for print, you’ll want to use 300 DPI.
Collaborate with your team
Figma is all about collaboration. Share your designs with your team members and communicate about your slices to ensure everyone is on the same page.
The drawbacks of the Slice tool
While the Figma Slice tool is undeniably a helpful asset in your design toolkit, it’s essential to be aware of its limitations:
- File size: Exporting multiple slices can lead to a proliferation of image files, potentially impacting your project’s file size and organization. It’s crucial to manage your exported assets efficiently to avoid clutter
- Complexity: In intricate designs with numerous elements, managing a large number of slices, frames, and groups can become challenging. Maintaining clear organization and naming conventions is key to managing this complexity
- Manual process: Slicing and exporting are manual tasks. While this provides control over each element, it can be time-consuming, especially in projects with a high number of assets
- Limited editing: Slices are static representations of your design. If you make changes to the original design, you’ll need to update and re-export the affected slices manually
Despite these drawbacks, the Slice tool in Figma remains a valuable asset. To mitigate these limitations, it’s essential to develop efficient workflows and organizational strategies to maintain control and clarity in your projects.
Conclusion
Now that you’ve acquired a solid understanding of the art of slicing within Figma, you’re well prepared to take your design projects to the next level. Whether you’re working on a personal project or collaborating with a team, the Slice Tool in Figma will be your go-to instrument for precision and efficiency. So go ahead, slice it up, and serve your design on a silver platter!
LogRocket: Analytics that give you UX insights without the need for interviews

LogRocket lets you replay users’ product experiences to visualize struggles, see issues affecting adoption, and combine qualitative and quantitative data so you can create amazing digital experiences.
See how design choices, interactions, and issues affect your users — get a demo of LogRocket today.